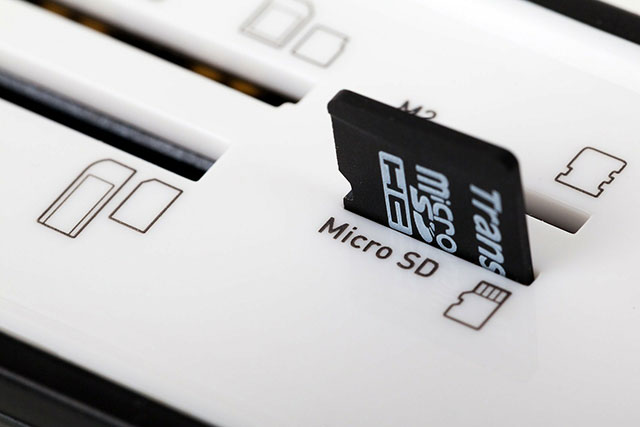
So you took out your SD card from your phone our camera the way you knew you shouldn’t but you did it anyway. Don’t fret, chances are your pictures are hidden within all the files labelled with what appears to be ancient Aztec symbols. Surprisingly, it is easier to recover your pictures from a corrupt SD card than an outright destroyed one.
What do you need?
You need to download ZAR X Systems recovery software. The full package is paid-for, but for what you need it for is completely free.
You then need to ensure that you have enough free space to hold the full storage of the SD card. So if you have a 32GB SD card, you need 32GB of free space on your hard drive on your PC.
Finally, you need the SD card on hand with a legitimate SD card reader that you have tested with a non-corrupt SD card. Try avoid fiddling with your corrupt SD Card. Things like moving the files, renaming items can affect the process you are about to take.
Using ZAR X
We are going to use ZARX just for its Image Recovery. Some of the settings are suited for other things so we are going to have to make some changes.
Once you have installed ZAR X, you will see a window that pops up. Select “Image Recovery (Free)”. The software will search through your PC for a while to find removable devices.
You will then see a list of devices connected to your PC. Select your SD Card (It may be called Mass Storage Device) and click “Next”.
Now go make yourself a cuppa coffee and chill out. Depending on the size of your Card it could take an hour to much, much longer.
Once the analysis is complete you have the option to selectively or completely recover files. We recommend you completely recover them to ensure every file is copied. You will see 2 folders one named “RAW” and the other a name depending on your device. Select both and click “Next”.
You will then see a screen with a destination folder, select where you want everything to go and click “Start copying”.
When the copying is complete, navigate to the folder you chose for the recovered files to go to. You will see the 2 folders “RAW” and the other one. Sift through both folders to find your images, hopefully, most of them will be there.
Need Back Up? Contact Dial a Nerd today!